Tune in for the latest about quilt events, Sweet Treasures, and other fun stuff. I truly hope this will be an interactive blog where we can share many thoughts and ideas. Have a blessed day ~ Terri

Friday, November 25, 2011

A little Burlap & Bling project

I promised down here a tutorial on my project for the Homespun and Holly event.  Here it is in detail.  Hope you have fun with it.  It’s a great little craft project to make as gifts or do with friends.  Once everything is prepared (as it was for the participants) it took about 45 minutes to an hour to complete.

Burlap & Bling Framed Tree

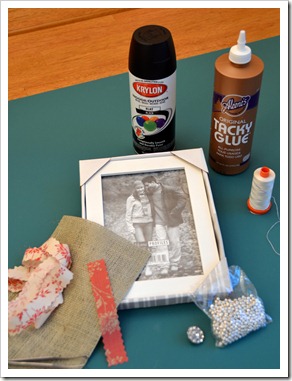
Supplies needed:

5” x 7” picture frame

6” x 8” piece of burlap

3/4” x 42” strip of fabric with pinked edges (tree shape)

1” x 5” strip of fabric with pinked edges (tree trunk)

1 – 3/4” blingy button (tree top)

20 – 30 beads (tree decorations)

craft glue

thread and hand sewing needle

black paint

tweezers

rotary cutter with pinking blade or pinking shears


supplies

Notes on supplies:

This is a great project for repurposing items.  Especially frames and blingy objects.  Remember, you can always paint a frame.  Watch for cool frames and jewelry that could be used for the top of the tree.

I’ve had the “pinking” rotary blade a long time and finally used it on this project.  I love it!  It cuts great and is the right tool for this job.  Pinking shears will work also if you prefer.

You may use black spray paint or use a sponge applicator with black acrylic paint.

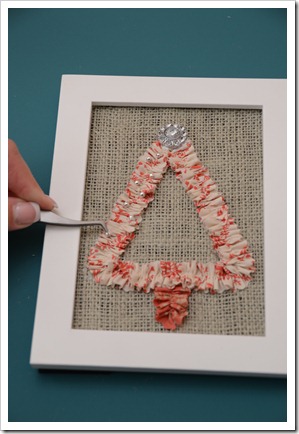
Tweezers!  If you don’t own a pair of the tweezers with the point as shown in the picture – you need them (more detailed picture below).  They’re great for crafts but if you’re a quilter they are wonderful for holding ends together as they go through the machine.


Step 1:

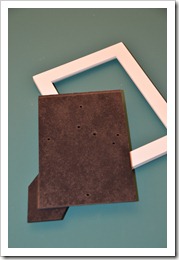
Take your frame apart.  Throw away the packaging and glass.  Paint the frame insert black.  (the side the picture would lay against).  This is painted because they typically come brown, and black looks better faintly showing through the burlap.


DSC_3736DSC_3738


Step 2:

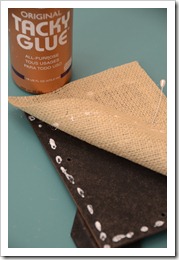
Glue the burlap piece flat against the frame insert (over the black painted surface).

Step 3: 

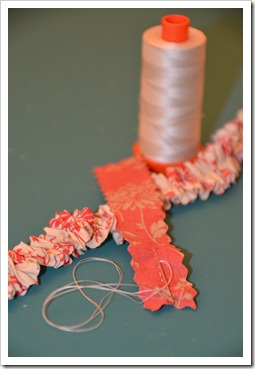
Run a basting stitch through the center, the length of both fabric strips (my stitches are 1/8th – 1/4” long).  Gather the tree strip to 12” and the trunk strip to 1” and tie off the end.


basting

Step 4:

Trim any overhang of burlap on the frame insert and insert back into the frame.

Step 5:

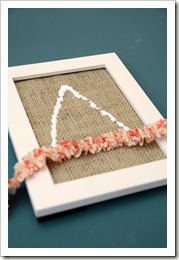
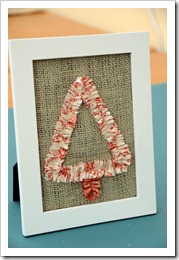
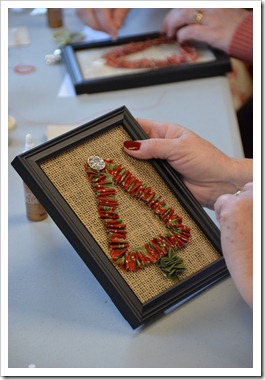
Don’t stress to much over this next step.  The pieces can be adjusted a bit while the glue is still wet.  Lay a generous line of glue in an elongated triangle on the burlap.  Begin with the center of the tree strip at the bottom center of the triangle and lay the strip along the glue line with the ends coming together at the tip of the tree. Press the ruffles into the glue.  Now stand up your frame and really look at your placement and adjust if you’d like.


glueing tree

adjusting tree 

Step 6:  if your button has a shank on the back, cut it off.  Most are plastic and you can use a pair of old scissors.  If you can’t get it off just use lots of glue and it’ll work.  Watch the positioning as it dries. 

Glue the button to the top of the tree.

Using tweezers, pick up the beads, dip in glue and place on the tree as desired.  Bling it up as much or little as you’d like.


placing beads 

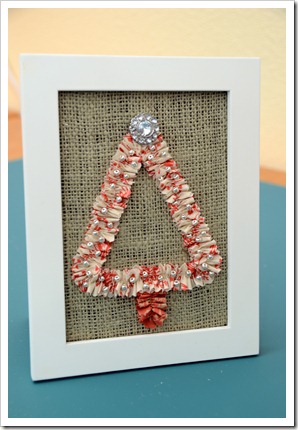
TAA DAA!!  You’re done!

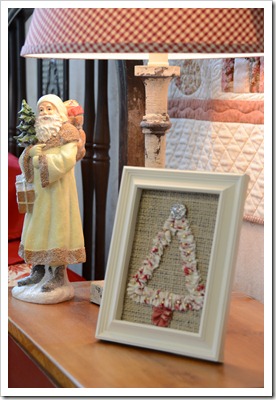
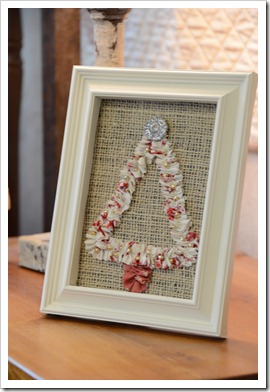
finished project

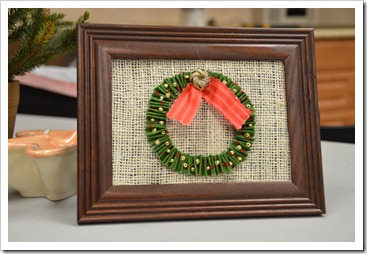
As you can see, I like the shabby chic look but this has been done in all sorts of colors and combinations.  Also the same technique could be used to make different shapes.  Wreaths were made in class.  If you haven’t checked out the post from Homespun & Holly be sure and check it out.  There are different color combos and wreaths pictured. 

If you give this a try be sure and let me know how it goes.  I love to hear from you.

Thanks for visiting!

Blessings ~ Terri

Labels: , ,

Thursday, November 24, 2011

Happy Thanksgiving!

Happy Thanksgiving

I hope you all have a special day remembering all you have to be thankful for.

I’m thankful for my Lord and Savior who is always with me and helps me through the bumps in life.

I’m thankful for my family.

I’m thankful for all the fabulous people I’ve meet through quilting.

I’m thankful I live in the United States of America ~ flaws and all.

Thanks for visiting!

Blessings ~ Terri

Labels: ,

Sunday, November 13, 2011

FABULOUS Homespun & Holly Event!

Sorry for the absence for the last couple months.  I’m back and am committed to make this social media thing a much higher priority.  It’s a challenge for me but I love reading others blogs so I need to keep up myself.  I’ll catch you up in the next few days but I want to share with you what I did this weekend.

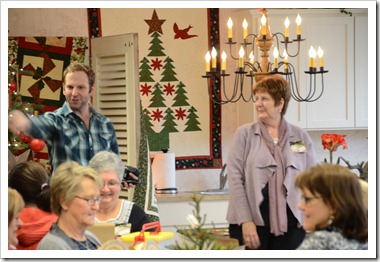
Saturday I had the privilege of teaching at the third annual Homespun and Holly event at Hollyhill Quilt Shoppe.  This was my third year and it just keeps getting better and better!  Jan and Brian Hill, the Mother ~ Son team that IS Hollyhill do everything BIG and it’s awesome!

I’m going to give you a little tour of the evening through pictures~

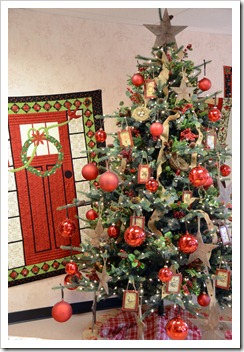
Door and Tree

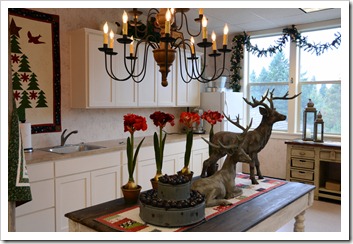
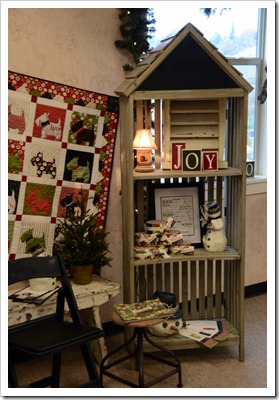
We were welcomed by a beautiful tree and “Door quilt”.

DSC_3674

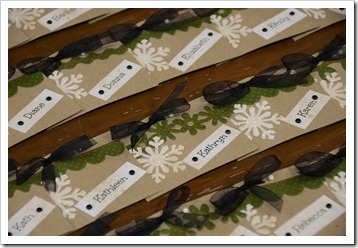
Beautiful name tags~

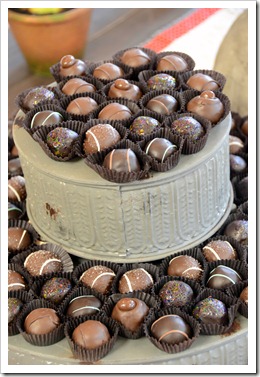
truffles

and truffles.  We’re off to a great start!

DSC_3698

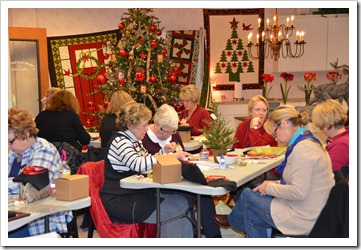
Jan and Brian welcomed everyone and had left a gift at each persons place at the tables.  They told them to open and you should have heard the response!!  When the packages were opened the participants found a jelly roll in their boxes!  What a wonderful gift.

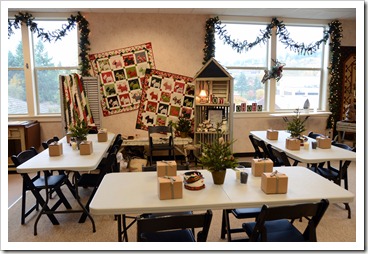
table shot

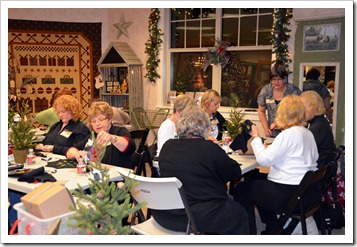
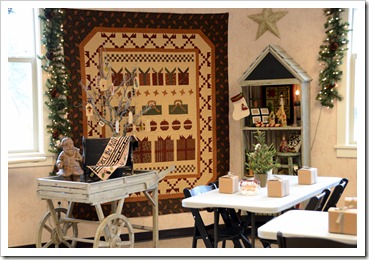
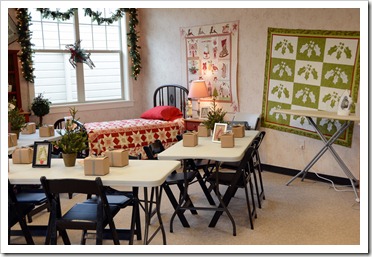
I walked around the room taking in the amazing set up for the event.  Four designers were teaching and each had their own station to teach at.

Here’s the designers, their stations and the project they taught.

Debbie Busby of Wooden Spool Designs.

Debbie working

Debbie is standing at the end of the table helping a student.


Wooden Spool section

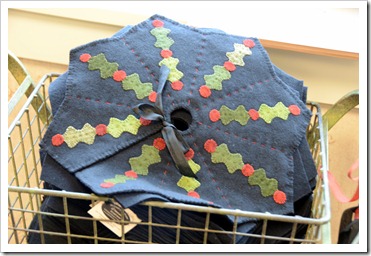
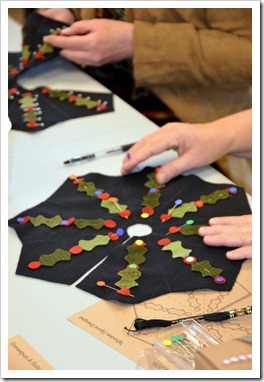
mini tree skirt

A mini tree skirt made of wool was Debbie's project.  It’s oh so cute!  Using some hand dyed wools by Debbie made it extra special.


mini tree close up

Debbie's blog


Next ~ introducing Anne Sutton of Bunny Hill Designs.

Bunny Hill section

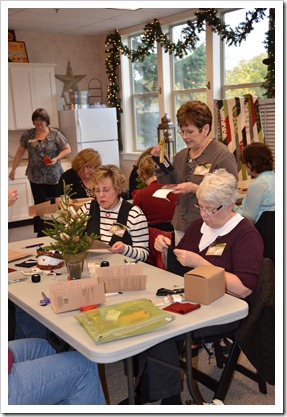
Ann working

Anne is sitting at the end of the table in the red sweater with her chin on her hand.


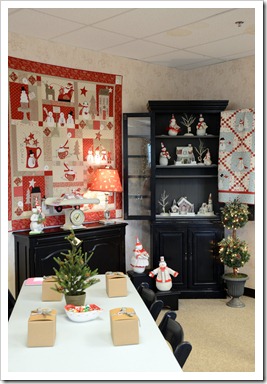
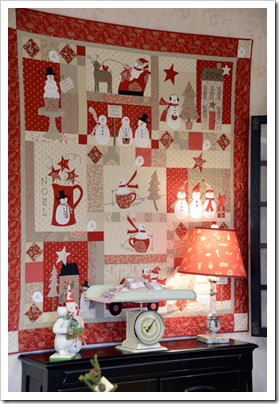
Snowman quilt

One of Anne’s lovely appliqué quilts.  I love snowmen!


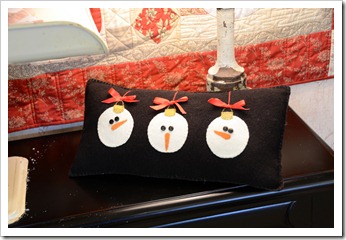
snowman pillow

This sweet wool snowman pillow was Anne’s project.

Anne's blog


Next is Karla Eisenach of Sweetwater.

Karla working

Karla is standing in the gray sweater.


Sweetwater section

sweetwater corner

mini bags

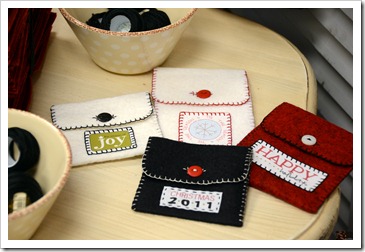
These fun little bags were Karla’s project.  At Sweetwater the make the greatest labels.  They were a fun adornment on the bags.

The Sweetwater blog.


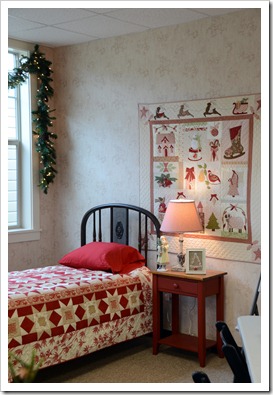
Last but not least.  the Sweet Treasures station …. mine.

Sweet Treasures section

bed corner

DSC_3685

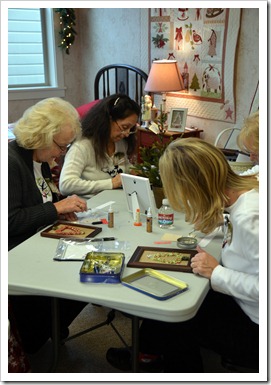
My project was a little framed christmas tree with burlap backing and a little bling.  Fun and fast!

tree close up

working hard

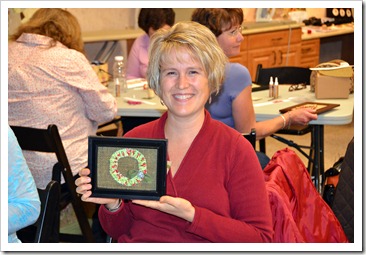
Joyce with wreath

These ruffled strips can be turned into other shapes.  Joyce make a wreath with her kit.  Soooo cute!


wreath close up

 Another students wreath.


DSC_3684


What a GREAT event.  If you ever have the opportunity to join us at Homespun and Holly, do it!  You’ll love it.  Plans are already beginning for next year……..

I’ll be posting free instructions for my project later in the week.  It’s a great project for decorating with or gift giving.
 

Thanks for visiting!!

Blessings ~ Terri

Labels: ,